


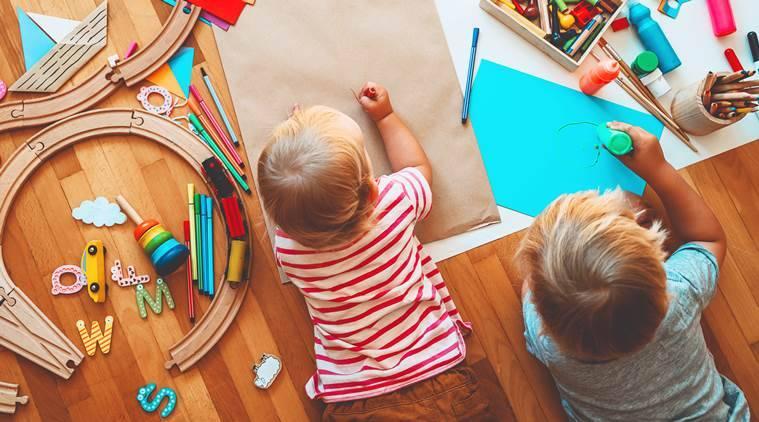
5 DIY Activities To Do At The Comfort Of Your Home
The feeling of discovery and achievement can be witnessed in any simple form. The innovative usage of the most accessible and handy items around the house could indulge the child into a level of creativity. This also enables the child to broaden their imagination and relative ideas.
Here are the 5 ‘Do It Yourself’ activities that you could try your hand at with your child to make their day interesting and fun.
1.)Homemade Glue:
The most common and quickly emptied craft item by kids at home is the glue. The next time when a glue that you recently bought for your child is over, you can introduce this as a DIY activity to them such that it can be made and refilled all by themselves.
Things that your child would require are Toothpaste, Maida Flour, and a Quarter glass of Water. To begin with, squeeze some amount of Toothpaste into a tiny bowl and add a little water into it. Mix the toothpaste and the water together until you get a semi-liquid consistency. Two teaspoons of Maida Flour is sufficient to be added to the liquid now. Keep stirring the mixture well. Touch and feel the mixture now to see a sticky nature. And, that’s how we make homemade glue.
2.) Shell seeding:
Let’s grow some tiny plants at home. This could be the best practice that a child can develop in their early childhood days.
Some of the requirements are an Egg Shell or a Coconut Shell, some soil, and any seed (from a fruit or a spice like mustard, coriander, etc). Take a half-broken egg or coconut shell and fill some soil in it. Try to dig these seeds into the soil. Sprinkle a few drops of water into the soil by those little hands. Leave it aside in a shady place like the kitchen window. Sprinkle and keep checking the shell once a day. A tiny plant should have grown after a week or so.
That was an amazing effort by the little ones!
3.) Gift a Pom Pom to your friend:
Here’s a great idea to gift some cute little handmade Pom Pom chickens for your best friend on their birthdays. All that we need is some cotton rolls, a paint set, and some colored chart paper. Grab some cotton from the roll, make it flat, and start painting by the color of your choice. Allow it to dry and then make two cotton balls out of it. One is a small circular cotton ball and another is a little bigger oval-sized cotton ball. Stick these two cotton balls together using glue.
Now, let’s draw some shapes on the color paper to complete the body parts of the chick. Draw 2 triangle shapes for the wings, 1 cone shape for the beak, and 2 crown shapes for the legs. Cut these shapes individually by yourself or with the help of your parent. The next step is to stick these body parts together.
A gift for your child’s bestie is ready now. Remind them to make 3 chicks if their friend is 3 years old or 4 chicks if they are 4 years old.
4.) Get well soon cards:
There could be times when your little ones are not sure how to express when their friends fall sick and are unable to play with them. A simple way is to make some Get well soon-cards for them for their speedy recovery.
The three basic items you require are chart paper (white or colored), a paint set, and a lady’s finger. Firstly, parents could cut the top edge of the lady’s finger and give it to the child. Your little one can dip it inside a red paint and place the prints on the chart paper one at a time. Use a paintbrush and dip it inside green paint to draw the stem and leaves of the flower.
Draw a straight line or a curve from each red print using green paint. Also, draw some leaves on the right or left side of the stem if you can. Allow it to dry for some time, and then you’re good to go. Get well soon cards are ready!
5.) Photo Frames:
Is your child someone who keeps their favorite photo print of your family inside a book or under the pillows? We have got you a simple idea so that they can keep it framed at your home.
A small bunch of ice-cream sticks, glue, some stickers/glitters (OR) a paint set, and a family picture are the ones you will require to make a photo frame. Your child’s first step is to count and pick 4 ice cream sticks and paste them all together to form a square using glue.
You can use some stickers or glitters to decorate the frame. If not available, do not worry, you can paint the sticks in your favorite color. Paste the printed photo carefully from behind the sticks. Allow it to dry for some time and slide the frame on a small table against the wall next to your bed. And, voila, we’re done!
DIY practices like these can enable your child to repeat the steps today for perfection and create new ideas by themselves tomorrow that may result in innovation. Let’s encourage our little ones to keep discovering something new of their own.


